How to Create a Silent String Art Wall Clock
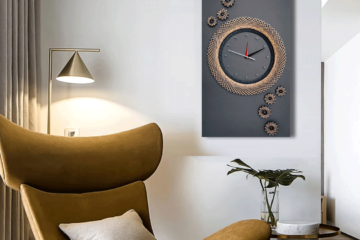
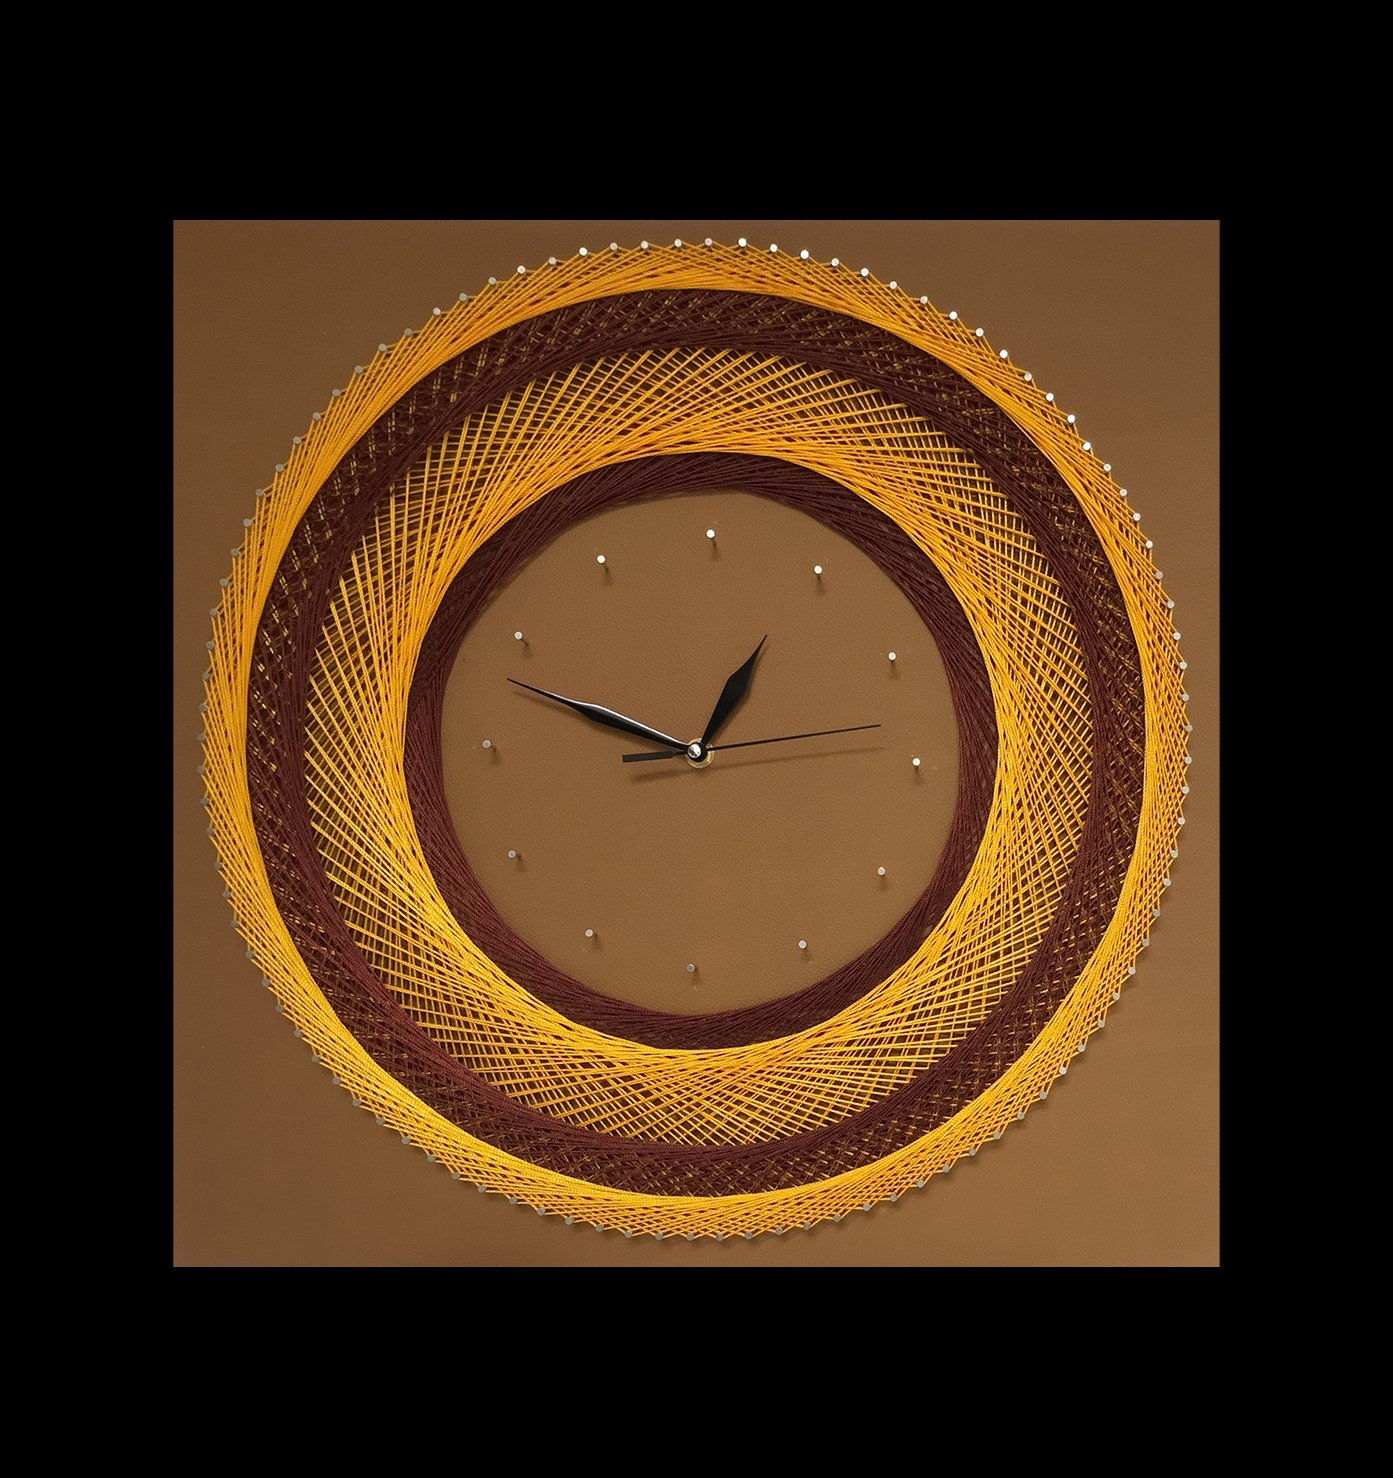
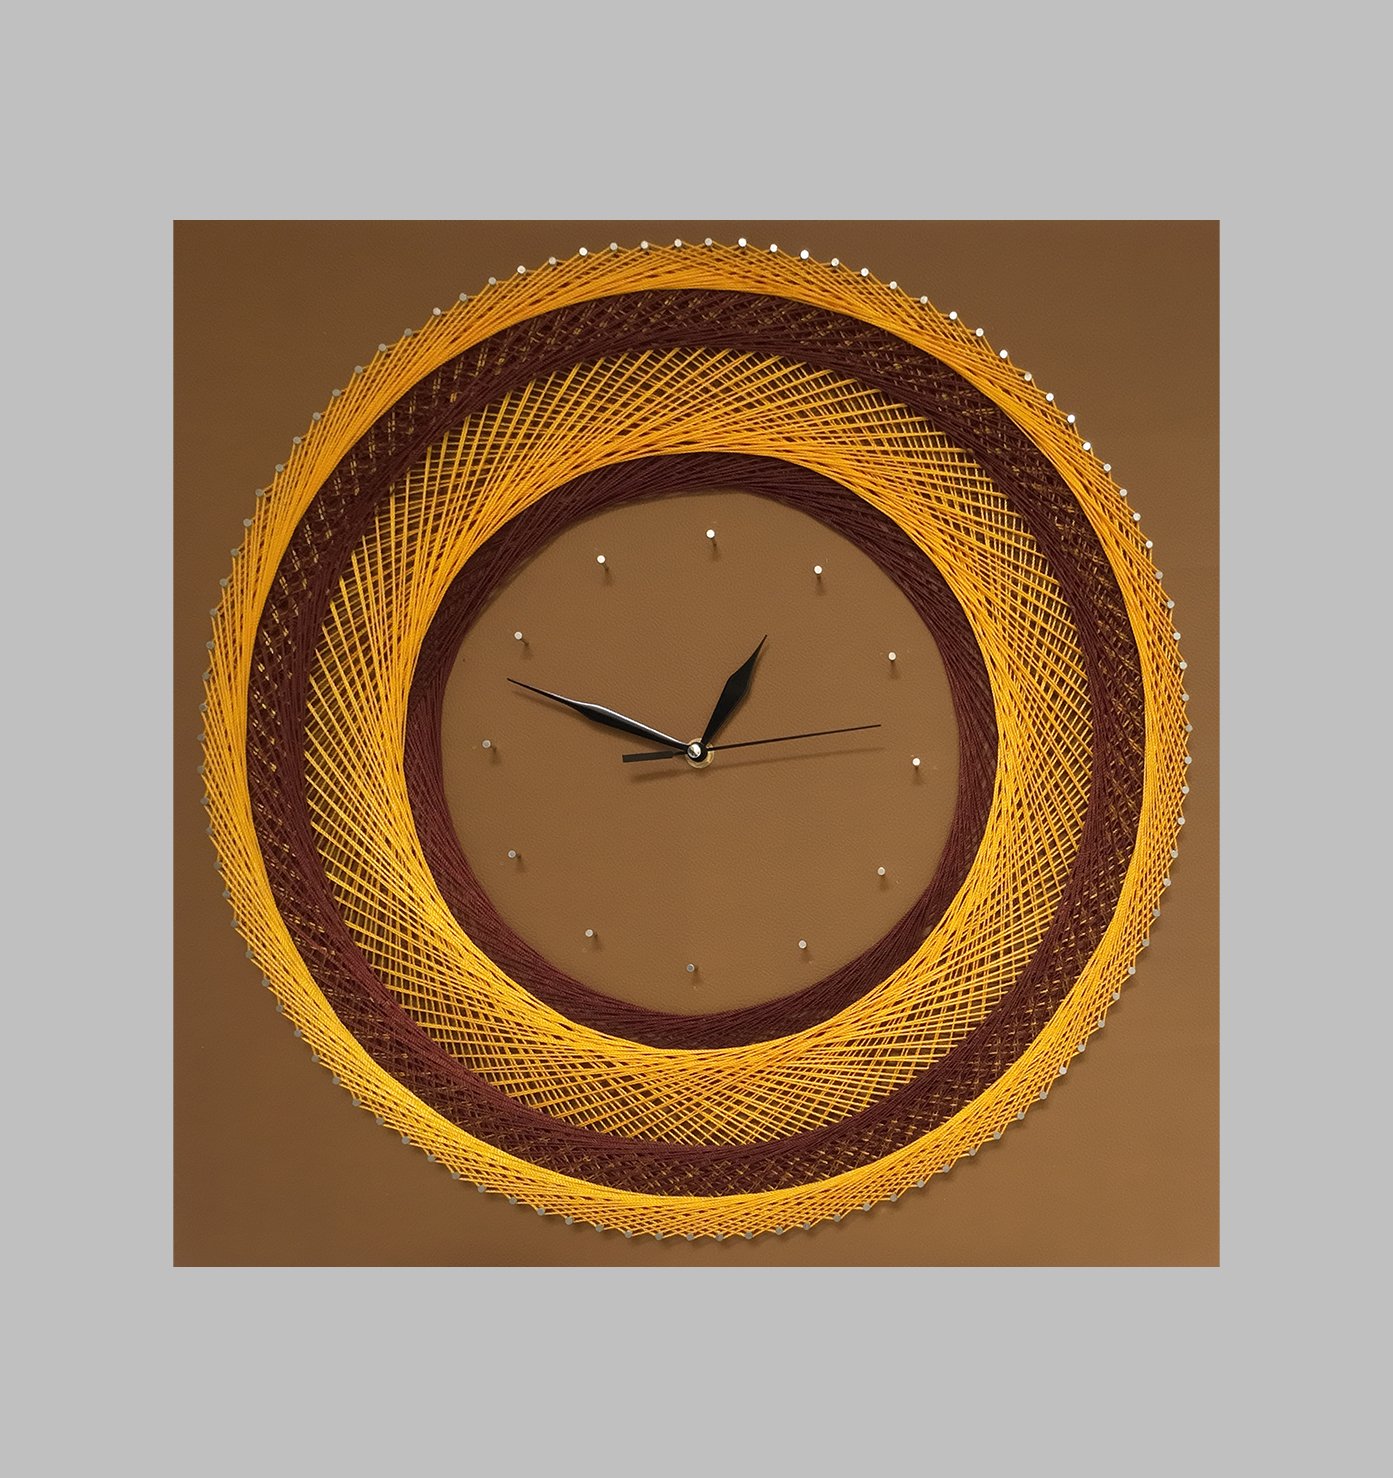
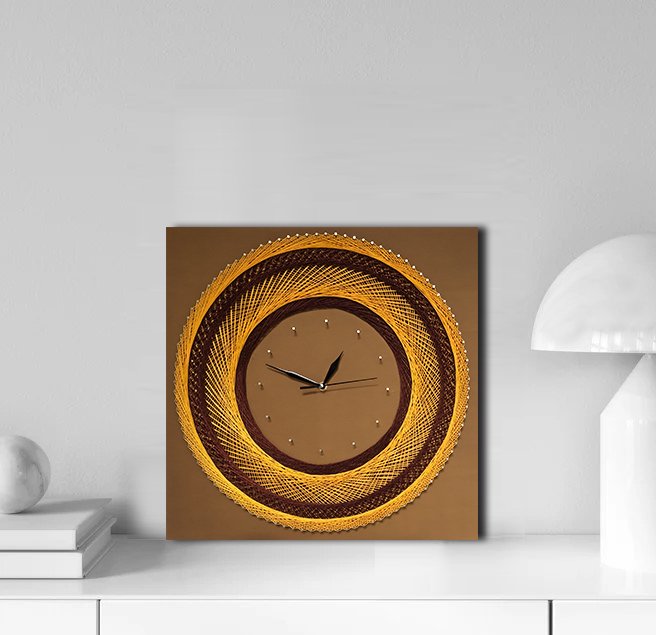
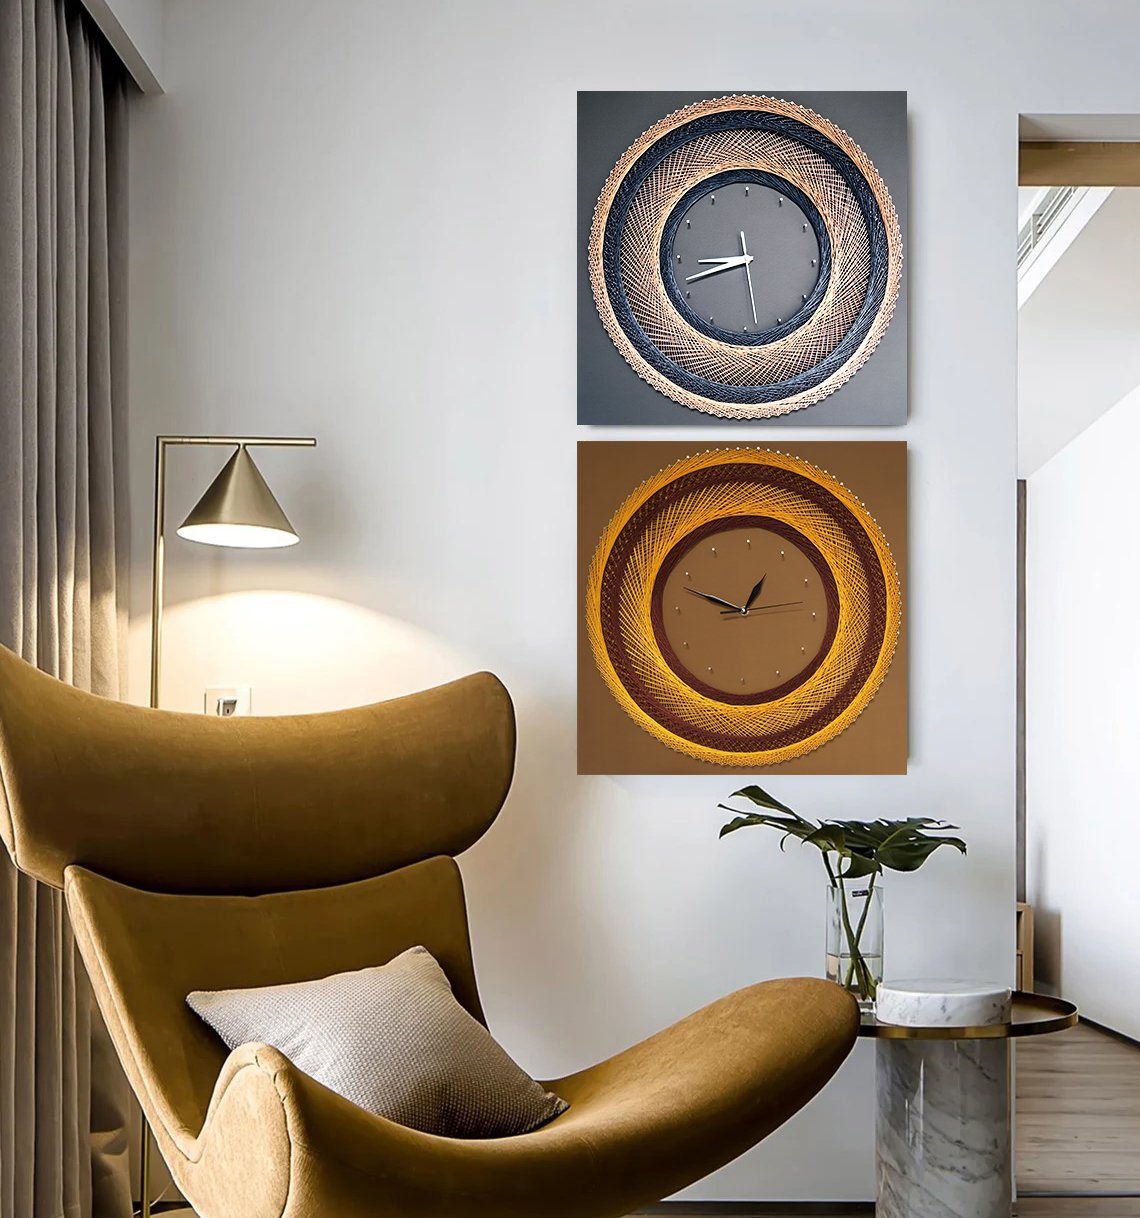
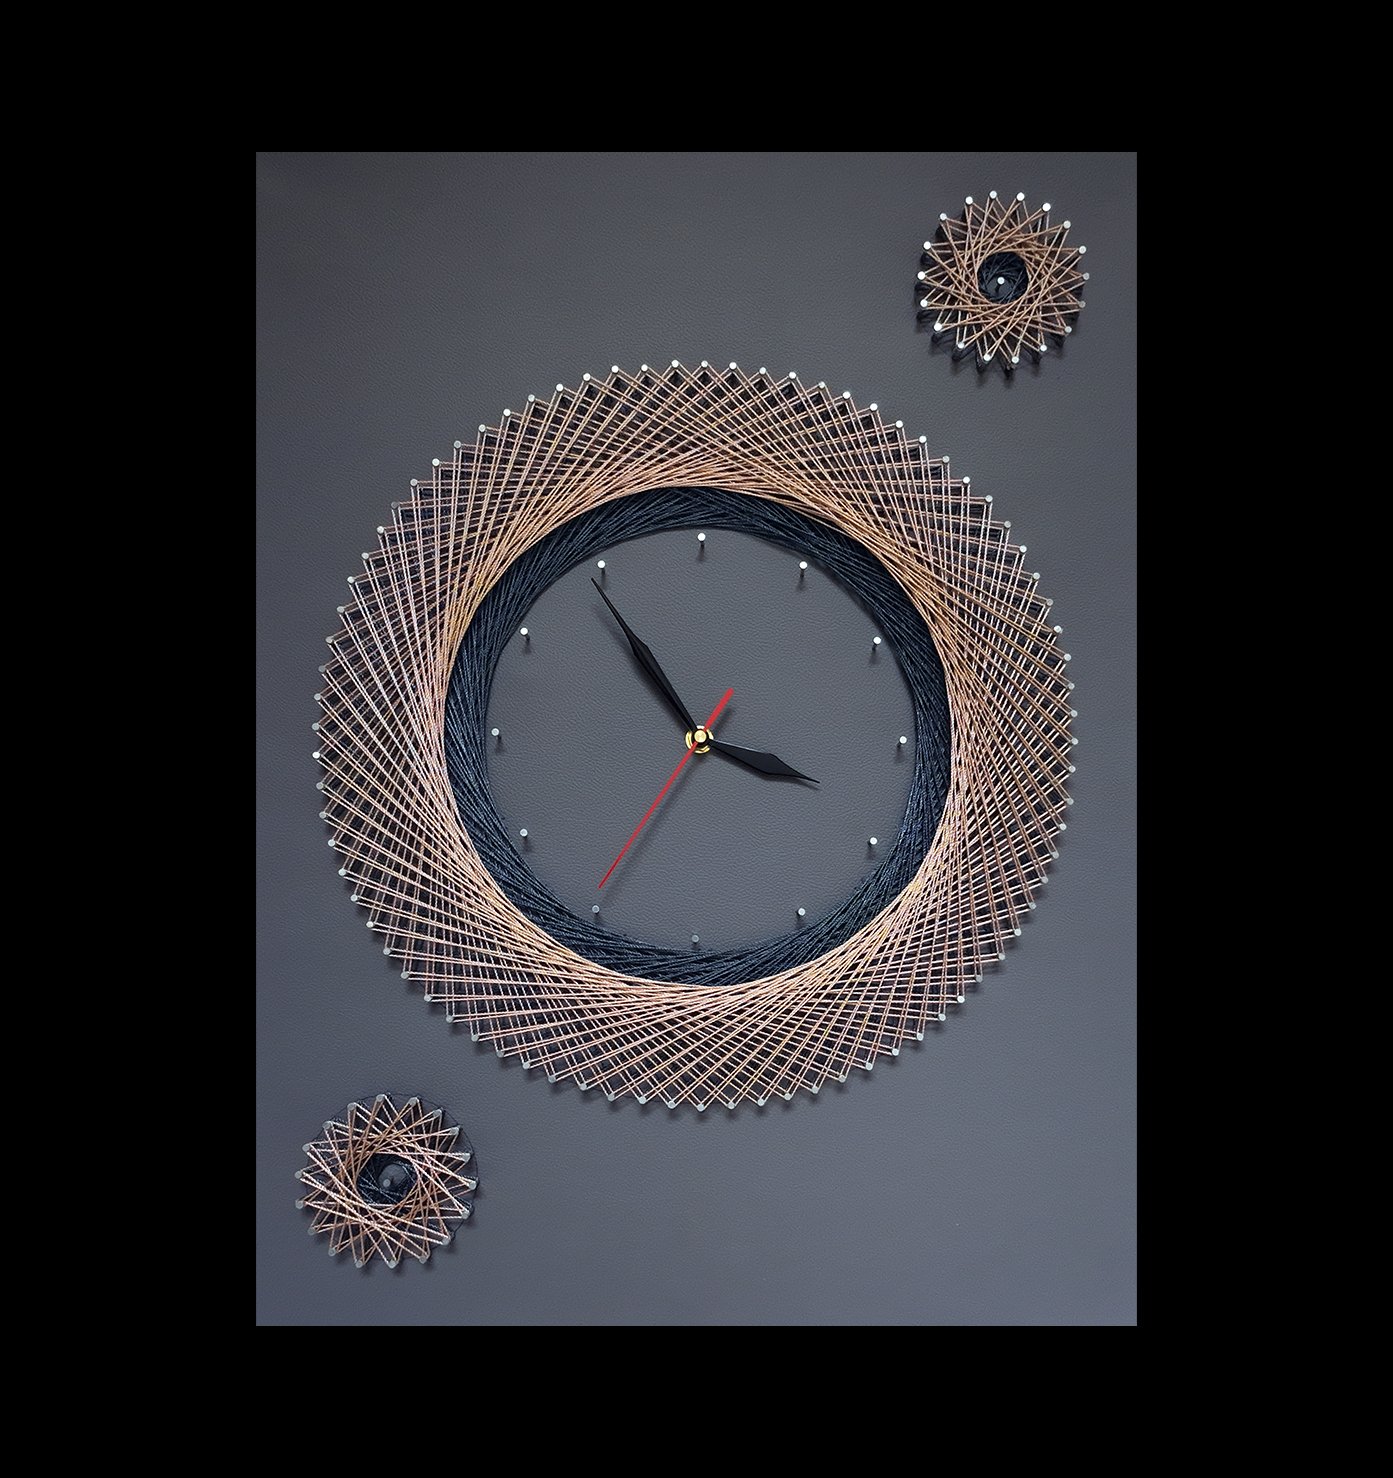
Silent String Art Wall Clock: String art is a captivating craft that combines precision and creativity to produce stunning visual pieces. Incorporating a functional element, such as a clock, adds both aesthetic appeal and practicality. This tutorial will guide you through creating a silent string art wall clock with a Rexine leather background, measuring 45cm x 60cm. The Rexine leather adds a sophisticated and polished touch to your artwork, making it a standout piece in any space.
Materials Needed
To create your silent string art wall clock, you will need the following materials:
- Wooden board (45cm x 60cm)
- Rexine leather sheet (slightly larger than the wooden board)
- Clock mechanism with silent movement
- Clock hands (hour, minute, and second hands)
- Nails (1.5cm – 2.5cm long)
- Hammer
- Embroidery thread or string in colors of your choice
- Ruler and pencil
- Template for clock numbers or design (optional)
- Strong adhesive or spray adhesive
- Utility knife or scissors
- Drill (for the clock mechanism hole)
- Sandpaper (optional, for smoothing the board edges)
- Paint or stain (optional, for coloring the board edges)
Step-by-Step Instructions
Step 1: Prepare the Wooden Board
Smooth the Board: If your wooden board has rough edges, use sandpaper to smooth them out.
Paint or Stain (Optional): If you want to add color to the edges of your board, now is the time to paint or stain them. Allow it to dry completely before proceeding to the next step.
Step 2: Attach the Rexine Leather
Cut the Rexine: Cut the Rexine leather sheet so that it is slightly larger than the wooden board. This will allow you to wrap the edges neatly.
Apply Adhesive: Apply a strong adhesive or spray adhesive to the surface of the wooden board. Ensure an even coat to avoid lumps or bubbles.
Attach the Rexine: Carefully place the Rexine leather sheet onto the adhesive-coated board, smoothing it out to eliminate any wrinkles or bubbles.
Trim Excess: Once the Rexine is securely attached and dry, use a utility knife or scissors to trim the excess material, leaving a clean edge.
Step 3: Plan Your Design
Design Layout: Decide on the design for your string art clock. You can create a geometric pattern, a floral design, or any other motif that you like. If you’re unsure, you can find templates online or draw your own.
Clock Face Placement: Mark the center of the board where you want the clock mechanism to go. This will typically be in the middle of the board, both horizontally and vertically.
Step 4: Drill the Hole for the Clock Mechanism
Drill the Hole: Using a drill, create a hole in the center of the board for the clock mechanism. Make sure the hole is large enough for the mechanism to fit through but not so large that it will move around.
Step 5: Mark the Nail Placement
Measure and Mark: Using a ruler and pencil, mark the spots where you will hammer in the nails. The distance between the nails will depend on your design. For a clock face, you’ll want to mark the positions for the 12, 3, 6, and 9 hours, and then evenly space the other hours in between. For a more intricate design, you may need additional marks.
Step 6: Hammer in the Nails
Nail Placement: Carefully hammer the nails into the marked spots. Ensure they are all driven to a similar depth, leaving enough nail exposed to wrap the string around securely.
Check Stability: Make sure all nails are firmly in place and stable.
Step 7: Create the String Art
Tie the Thread: Start by tying the end of your thread to one of the nails. Make a secure knot to ensure it won’t come loose.
Weave the Thread: Begin weaving the thread around the nails according to your design. You can follow your pattern precisely or freestyle for a more organic look. Ensure the thread is taut but not too tight, as this can cause the nails to bend or pull out.
Change Colors (Optional): If you’re using multiple colors, tie off the first color and start a new one at a different nail, continuing the pattern until you’re satisfied with the design.
Secure the End: Once your design is complete, tie off the end of the thread and cut off any excess.
Step 8: Install the Clock Mechanism
Insert the Mechanism: Place the clock mechanism through the hole you drilled earlier, following the manufacturer’s instructions.
Attach the Hands: Secure the clock hands onto the mechanism. Make sure they are firmly in place and can move freely without obstruction.
Step 9: Finishing Touches
Numbers (Optional): If you want to add numbers to your clock face, you can either paint them on or use number stickers.
Check Functionality: Ensure the clock mechanism is working correctly and that the hands move without any issues.
Step 10: Hang Your Clock
Attach Hanging Hardware: Depending on your preference, you can use picture frame hooks, sawtooth hangers, or other hardware to hang your clock.
Display Your Work: Find the perfect spot on your wall to display your new silent string art wall clock.
Conclusion
Creating a silent string art wall clock with a Rexine leather background is a rewarding and creative project that combines artistry and functionality. By following these steps, you can craft a beautiful and unique piece that not only tells time but also serves as a stunning piece of decor. Whether you choose a simple geometric pattern or a more intricate design, your string art clock is sure to be a conversation starter and a cherished addition to your home. Happy crafting!


